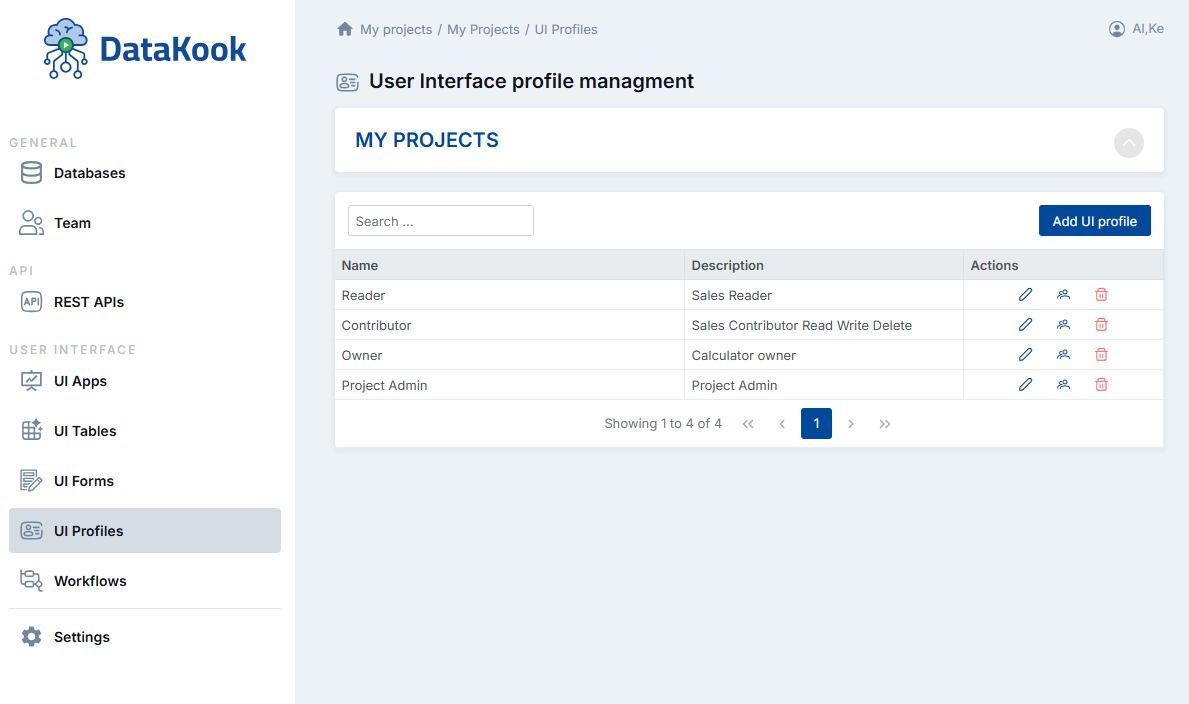
1. UI Profiles
UI Profiles are the foundation of DataKook's access control system for the User Interface layer. A Profile acts as a named permission set that defines which data tables, API endpoints, forms, and UI components are visible and accessible to a group of users.
Profiles are created and managed in the User Interface → Profiles section. To create a new Profile, click + Add Profile, give it a name (e.g., "Sales Team", "Finance – Read Only", "Operations Admin"), and configure its permissions.
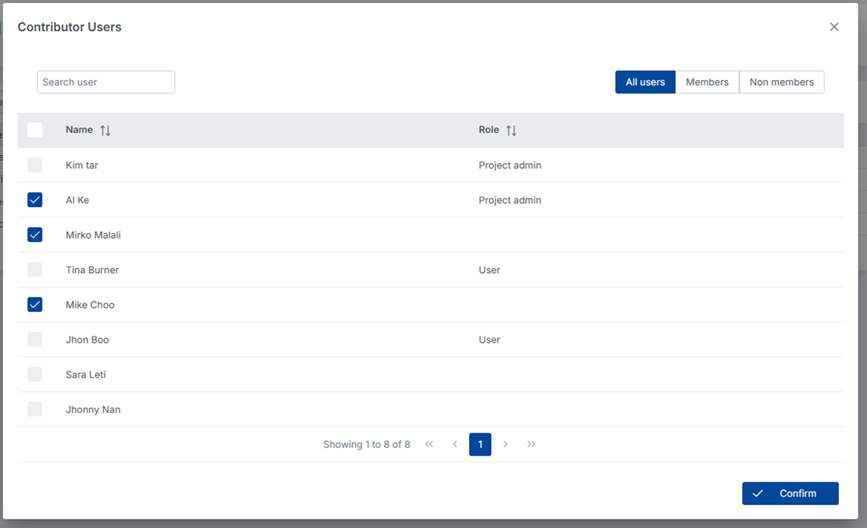
Each Profile can be assigned to one or more users from the user management view. A user can belong to multiple profiles — DataKook merges their permissions. Key benefits:
- Data Isolation: Different business units or customers can each have their own Profile, ensuring they only see data relevant to them.
- Flexible Permissions: Profiles can be read-only, read-write, or full-access depending on the group's needs.
- Multi-tenant Ready: In SaaS scenarios, Profiles allow you to create isolated data experiences for each tenant within a single DataKook instance.
2. UI Forms
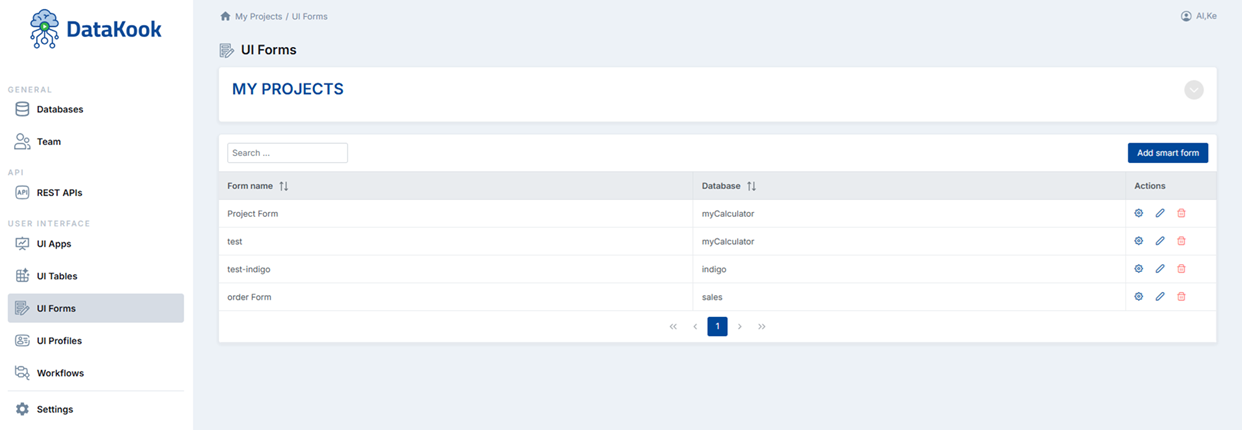
UI Forms let you design custom data entry and editing screens that business users can use to add or update records without needing to understand the underlying database structure. Forms abstract away technical complexity and present a clean, branded interface tailored to your workflow.
Forms are created in the User Interface → Forms section. To add a form, click + Add Form, select the target table(s), and configure which fields should appear. Once saved, click the gear (⚙) icon to access the advanced form configuration:
- Field Selection: Choose which database columns to display — hide technical or auto-generated fields like IDs or timestamps.
- Field Labels: Replace raw column names with friendly labels (e.g., "cust_nm" → "Customer Name").
- Field Types: Override the display type — text box, dropdown, date picker, checkbox, or file upload.
- Validation Rules: Set required fields, minimum/maximum values, text patterns, or custom error messages.
- Read-only Fields: Mark fields as display-only so users can see the value but not modify it.
- Multi-table Forms: Combine fields from multiple related tables into a single unified form.
Once published, Forms appear directly within the UI App that includes them, providing end users with a seamless, guided experience for creating and editing data.

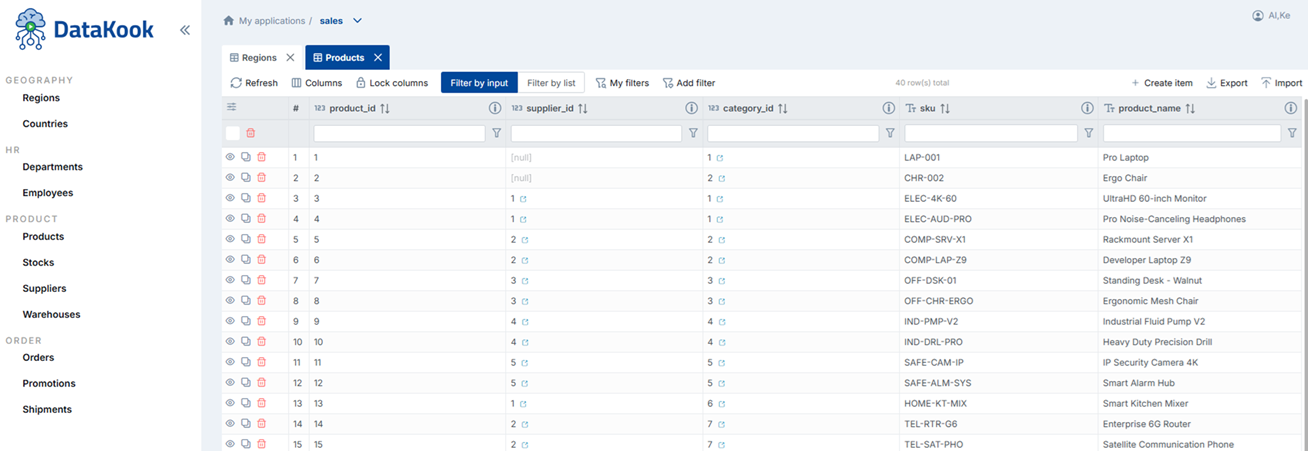
3. UI Tables
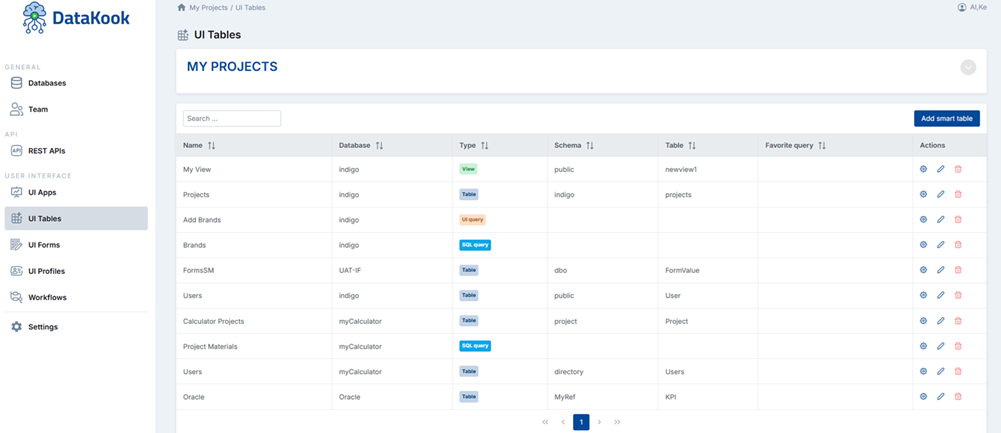
UI Tables are interactive data grids that display records from your database tables or views in a clean, paginated, sortable, and filterable format — accessible to any user without requiring SQL knowledge.
Tables are configured in the User Interface → Tables section and can be embedded inside any UI App. When setting up a UI Table you control:
- Column Visibility: Choose which columns to show, hide, or freeze.
- Column Ordering: Drag and drop columns into the display sequence that makes most sense for the user.
- Sorting: Enable single or multi-column sorting with user-controllable direction.
- Filtering: Expose filter controls for specific columns — free-text search, dropdown, date range, or numeric range.
- Pagination: Configure the default page size and allow users to select how many rows they see per page.
- Inline Actions: Attach action buttons (Edit, Delete, View Details) that link directly to associated UI Forms.
- Export: Allow users to download the current view as CSV or Excel with a single click.
UI Tables adapt automatically to mobile screen sizes, collapsing columns gracefully to ensure a usable experience on any device.
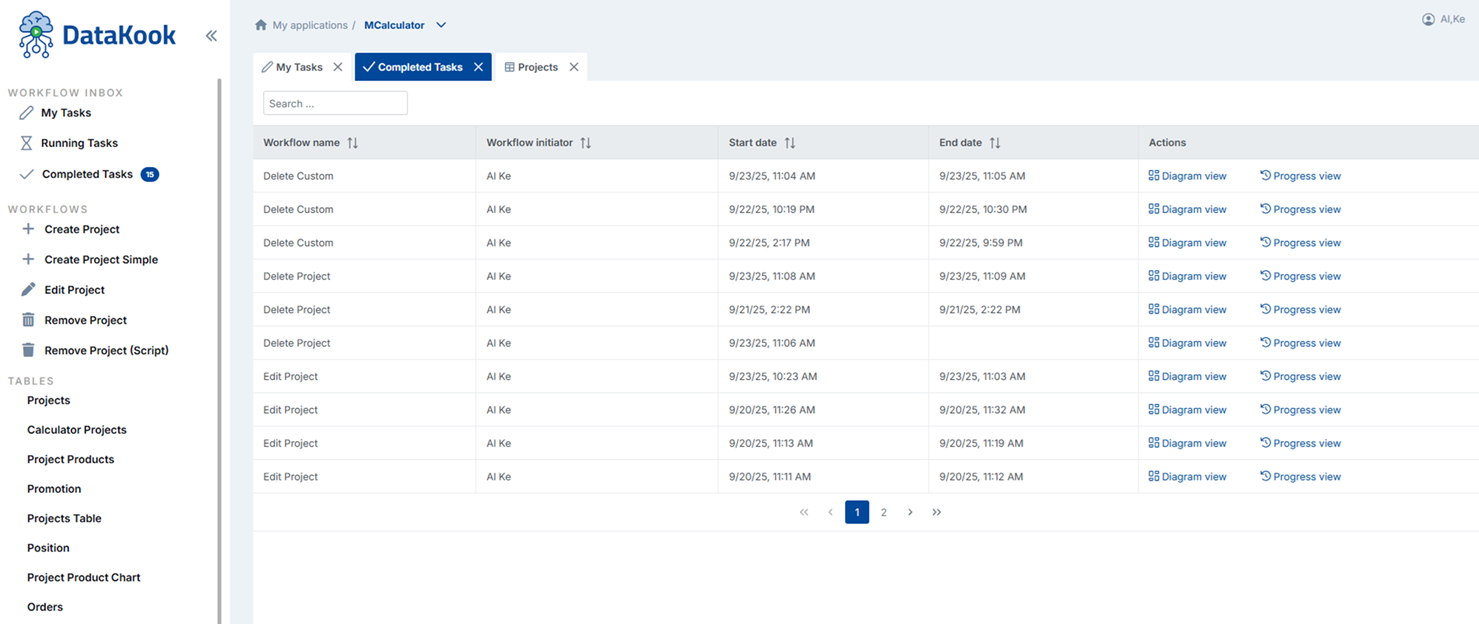
4. Workflows
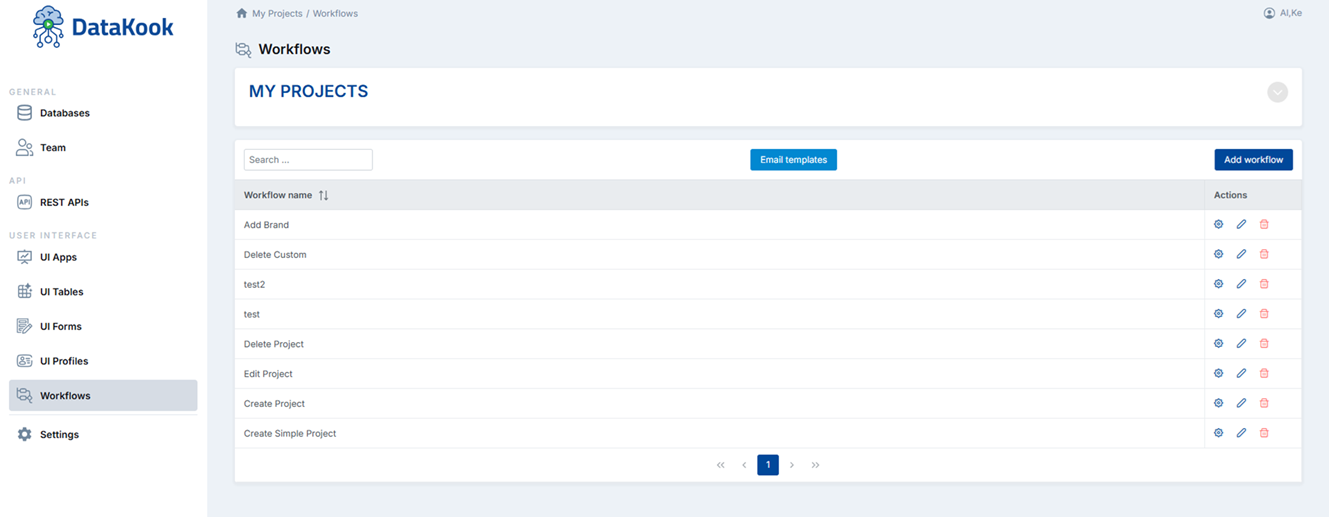
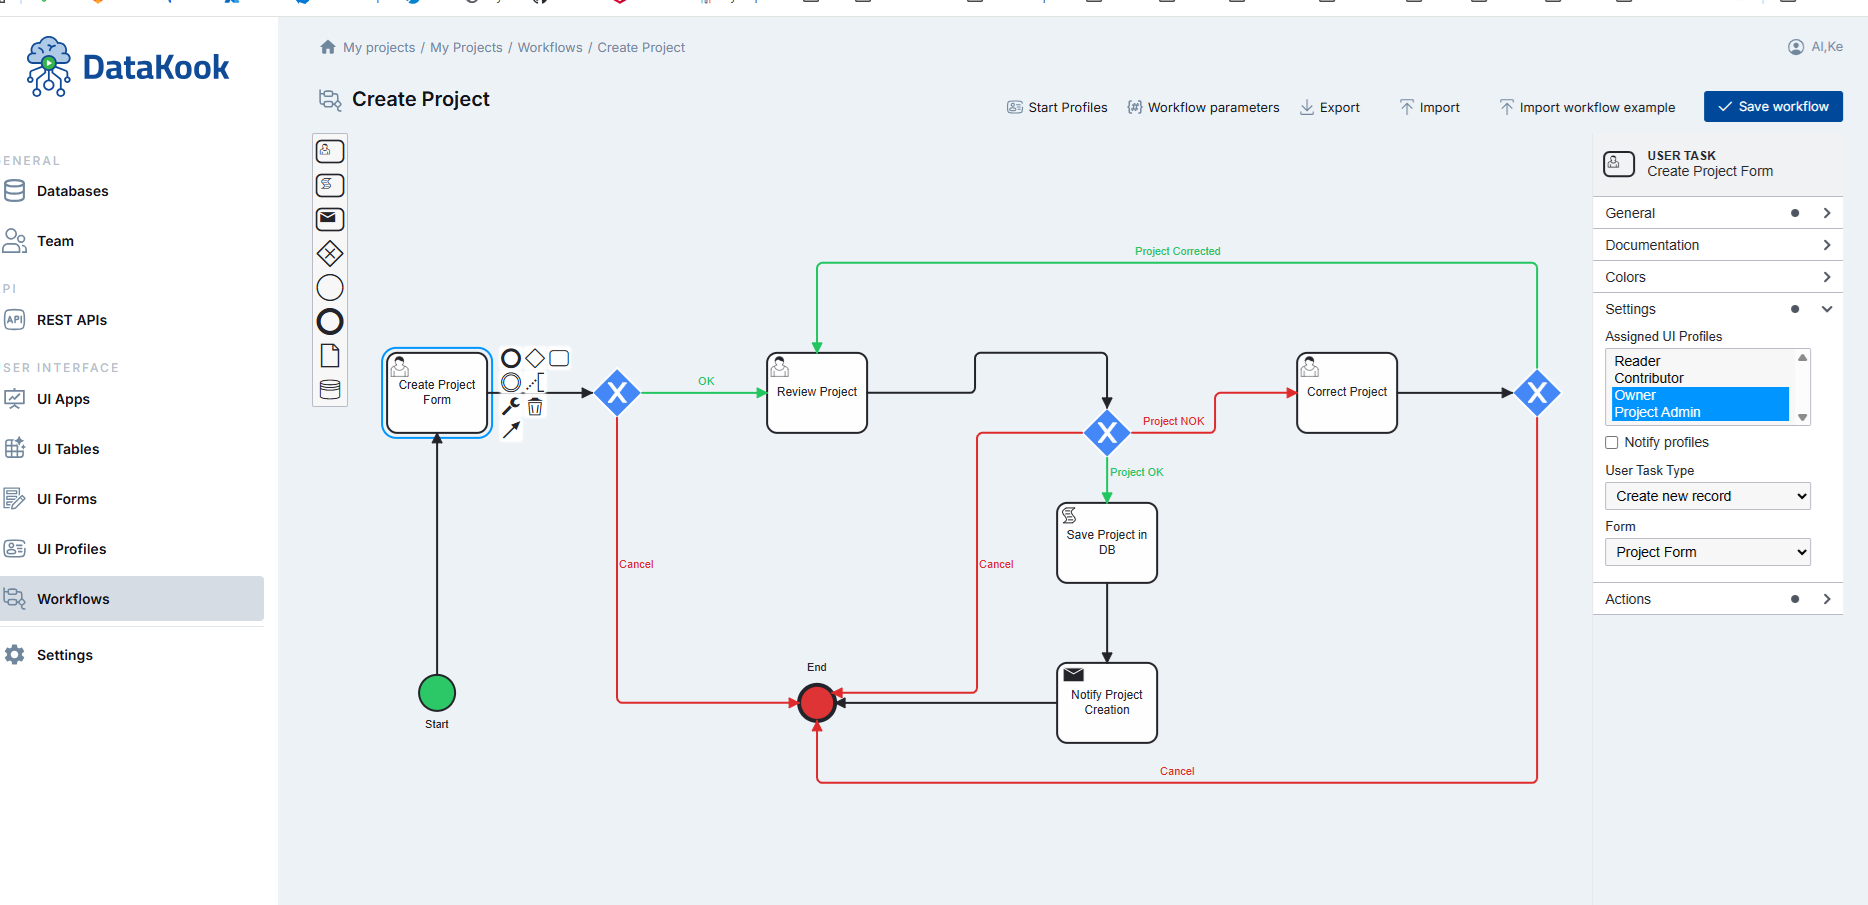
Workflows allow you to define multi-step business processes that guide users through a sequence of actions — data submission, approval, transformation, or routing — all configured visually without writing code.
A Workflow is built by connecting a series of steps, where each step can be a Form submission, a Table filter action, an API call, a conditional branch, or a notification trigger. This makes DataKook suitable not just for data viewing, but for orchestrating real business operations.
Common use cases for Workflows include:
- Multi-step data entry: Guide a user through multiple forms in a fixed sequence.
- Approval processes: Route submitted forms to a reviewer before the data is committed to the database.
- Data enrichment: After a record is created, automatically trigger an API call to enrich it with data from an external source.
- Conditional logic: Show different steps depending on values the user entered in previous steps.
Workflows are composed inside the User Interface → Workflows section using the visual builder. Each Workflow can be embedded as a step or action button inside a UI App.
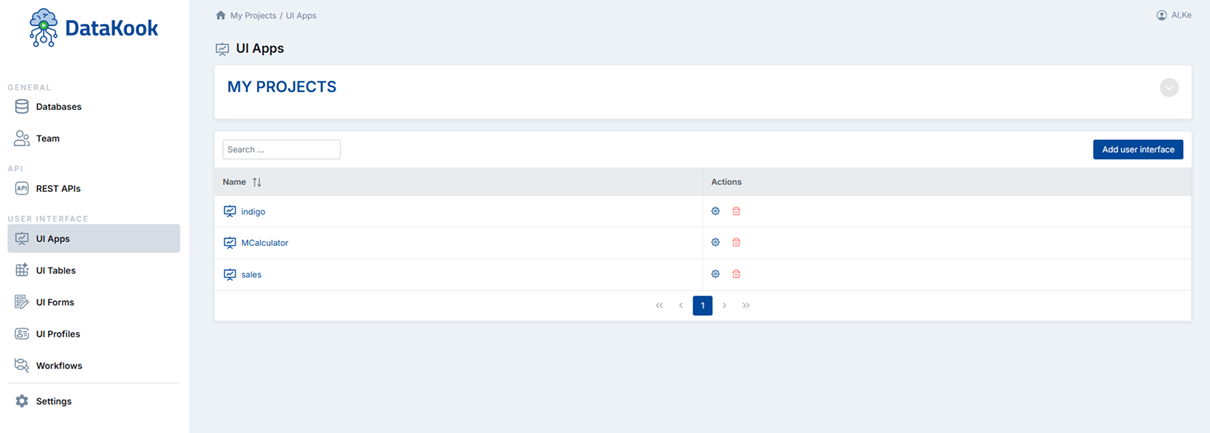
5. UI Apps
UI Apps are the top-level container for everything end users interact with. A UI App is a fully custom, self-contained mini-application that brings together Tables, Forms, Charts, and Workflows into a coherent, navigable interface — built entirely within DataKook.
The goal of UI Apps is to bridge the gap between raw data and business users. Non-technical users often find it difficult to navigate complex developer tools, which limits their ability to work effectively with data. UI Apps solve this by presenting a clean, purpose-built experience tailored to each team's exact needs.
You can create a simple UI App with just a single data table, or build a fully featured operational application with multiple screens, navigation menus, workflows, charts, and profile-controlled visibility — all without writing any frontend code.
5.1 UI App Settings
The App Settings panel is where you assemble your UI App by adding and organizing its components. You can add any combination of the following elements:
- Tables: Embed one or more UI Tables for browsing, filtering, and exporting data.
- Forms: Attach Forms to allow users to add or edit records directly from within the app.
- Charts: Add visual data summaries — bar charts, pie charts, line charts — sourced directly from your database queries.
- Workflows: Embed multi-step guided processes that users can launch from within the app.
- Navigation Items: Organize all components into a logical menu structure with custom labels and icons.
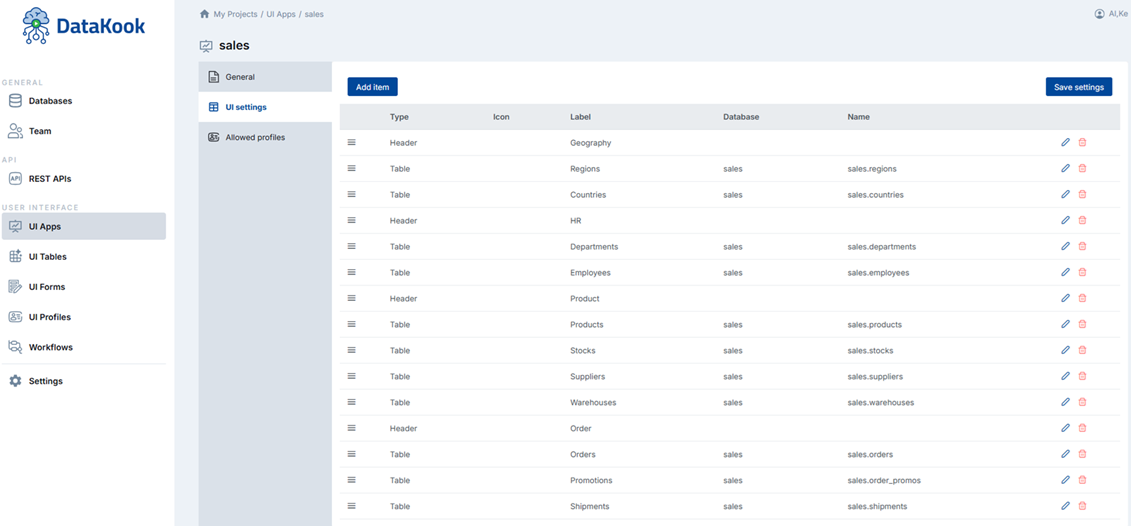
Here is an example progression from simple to complex: